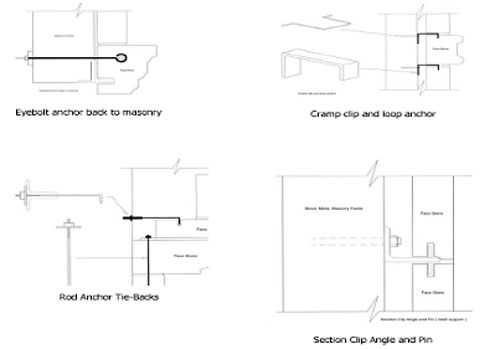
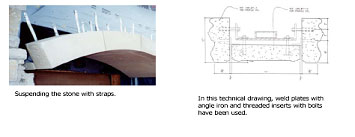
We have included a few cross sections to better illustrate some of the techniques we have observed, adding at this point, that in many commercial applications, weld plates are included during the manufacturing process. While this does incur added expense on the manufacturing end, the payoff is tremendous when the installation begins (by greatly reducing labor) because of the ease of placing the stone and welds.
It should also be noted that methods used to anchor wall veneers would vary. For example, brick walls with approximately 3 or more inches of setting bed makes it possible to bury steel lintels in the mortar joint, or locate your straps on top or below the stone.
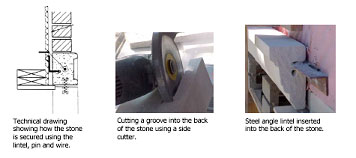
In another application such as stucco, where there is little room to cover the steel attachments, we see the use of blind kerfs in the back of the stone with steel angles.
Common for interior applications, we see dowel pins used with holes drilled into the back of the stone and then shimmed into place until the mortar dries. Another effective method is the use of lag screws in the wall (especially wood frame) with holes drilled in the back of the stone.
Many considerations go into the installation but for the most part, just remember it is no different than putting an erector set together. The steel fasteners are there to support the stone with the structure.
We end where we started. The preferred method is to use a masonry screw in the stone and we do not see an end to the creative ways this method can be developed.


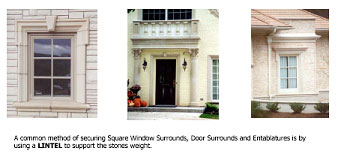
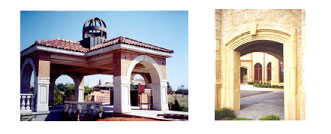
- Arches - Self-Supporting (using dips makes this method easier since no supporting templates would be needed to be built).
- Straps - Used to anchor a surround or suspend stone. Makes placement and installation much more precise.
- Anchors, Weld Plates and other templates - Have often been pre-made to assist in hanging highly customized stone such as those used in stain glass windows.
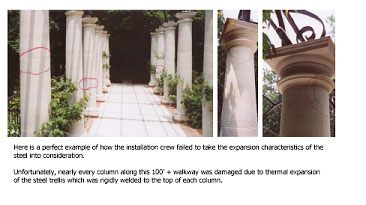
One of the greatest installation mistakes I see made is not allowing for the differentiation in the expansion and contraction of the various materials that are installed with the stone.
Quite possibly the most common error is the installation of a row of columns - rigidly attached to a length of steel which has been welded into place without allowance for thermal expansion of the steel.
Keep in mind that steel I-beams spanning just 60 to 70 feet can expand and contract over 1.25 inches, and longer spans will be even more. When this happens, the columns receive lateral loading due to expansion and contraction of the steel, and if the expansion is enough, the stone will split at a mid point of the column. So you can see how it is best not to fasten the beams directly to the top of the column without allowance for thermal expansion.
By including skid plates to trap the beam to the column, the vertical load remains resting on the column while allowing movement of the steel across the skid plate as the temperatures expand and contract the beams.
